USPS Label Broker: How Qr Code Returns Work without a Printer
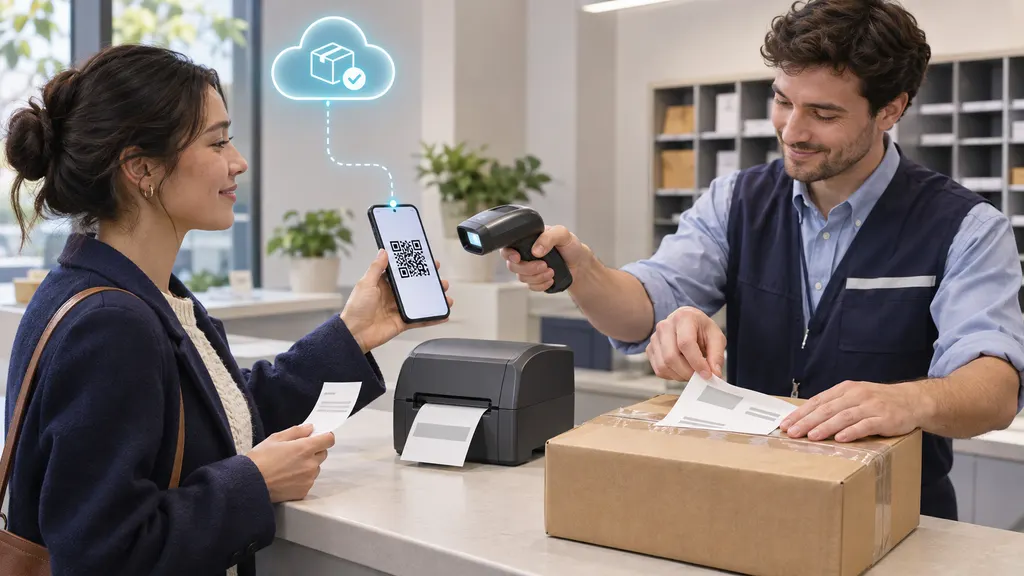
USPS Label Broker lets eligible customers return a package without owning a printer. Instead of printing a prepaid shipping label at home, you receive a QR code or Label Broker ID from the retailer or shipping service, take the packaged item to a participating Post Office, and ask a USPS employee to print the label. The label is then attached to the package before acceptance and tracking begins.
The process is convenient, but the QR code is not itself a return authorization. The retailer must first approve the return and create a USPS label that supports Label Broker. Your package, return deadline, and refund are still governed by the seller’s return policy.
What USPS Label Broker does
USPS Label Broker is a label-printing service. It separates label creation from label printing, so a customer can complete a shipment even when a printer is unavailable. The sender receives a code that USPS can use to retrieve the associated shipping label at the counter.
For a retail return, the typical sequence is:
- You start a return through the retailer’s website, app, or customer-service channel.
- The retailer approves the return and creates a prepaid USPS return label, if the order and return method qualify.
- The retailer sends you a Label Broker QR code or ID, usually in the return instructions, email, or return portal.
- You prepare the merchandise and take it to a participating USPS Post Office.
- A USPS employee scans the code, prints the label, and gives you instructions for handing over the parcel.
- You keep the acceptance receipt and monitor the tracking number until the package reaches the return destination.
USPS describes the service and its requirements on its official Label Broker page. Availability can depend on the label, the location, and the service being used, so a QR code should not be treated as a guarantee that every postal counter can process the return.
How a QR code return works
1. Confirm that the retailer approved the return
Begin with the seller, not the Post Office. A retailer may require you to select a reason, choose a refund method, or complete other return steps before issuing a shipping label. Some merchants offer free returns only for certain items, destinations, or time periods. Others may deduct the return shipping cost from the refund.
Look for instructions that specifically mention USPS Label Broker, a QR code, or printing the label at a USPS location. If the retailer only provides a downloadable PDF label, USPS Label Broker may not be available for that shipment. Do not assume that a normal shipping label can be converted into a QR code at the counter.
2. Check the code and return instructions
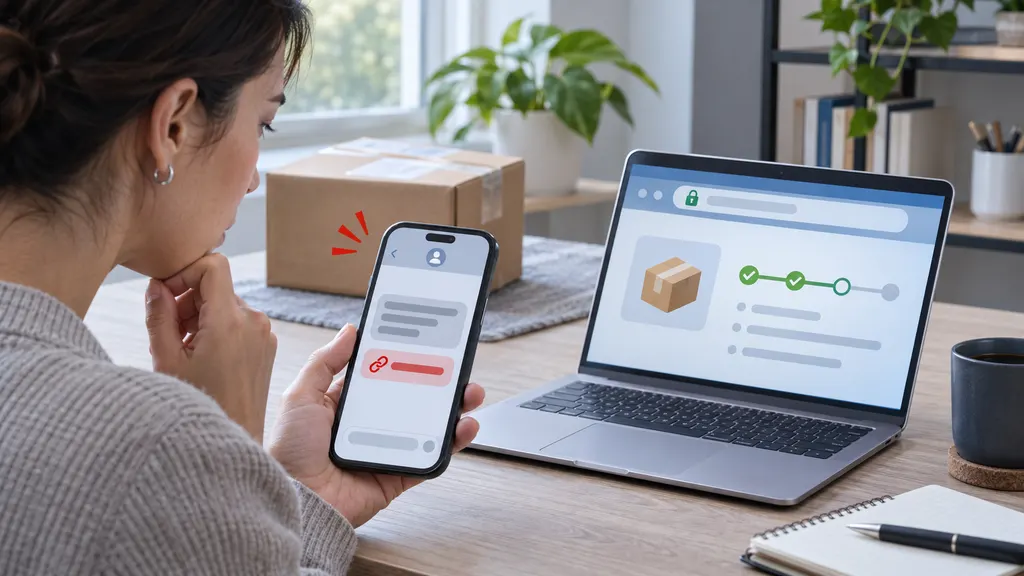
Save the message containing the QR code before leaving for the Post Office. The code may be displayed on a phone or printed on paper, depending on the instructions you received. Make sure the image is large enough and undamaged for scanning. If the retailer provides a numeric Label Broker ID as an alternative, keep that number available as well.
Read the return instructions for packaging requirements. A retailer may require the original packaging, a particular box, or the removal of old shipping labels. The return instructions may also specify whether accessories, manuals, tags, or a return form must be included.
3. Package the item safely
Label Broker removes the need to print a label; it does not remove the need to package the shipment. Use a sturdy box or mailer that protects the contents during handling. Fill empty space so the item does not move excessively, and seal the parcel securely with shipping tape.
Remove or cover old barcodes and address labels. Conflicting labels can cause scanning or routing problems. Do not attach a handwritten address in place of the USPS label unless the retailer or USPS specifically instructs you to do so. The printed label generated from the QR code should identify the approved return shipment.
For restricted, fragile, liquid, hazardous, or high-value items, check both the merchant’s instructions and USPS requirements before shipping. A return label does not automatically make every item eligible for the selected mail service.
4. Visit a participating Post Office
Take the sealed package and the QR code to a participating Post Office. USPS provides a location tool and service information for Label Broker, but services can vary by location. If the return is time-sensitive, verify the location before making the trip rather than assuming that every USPS counter offers label printing.
Tell the employee that you have a USPS Label Broker code for a package. Show the QR code on your phone or provide the Label Broker ID. The employee scans the code and prints the shipping label associated with the return. You may need to confirm the package size or other shipment details, depending on the transaction.
Before leaving, confirm that the label is attached firmly and that the barcode is visible. If the package is accepted at the counter, request a receipt showing acceptance and, where available, the tracking number. The receipt is useful evidence if the retailer later says that the return was never shipped.
5. Track the return and follow the merchant’s refund process
After USPS accepts the parcel, use the tracking number on the receipt or label to monitor movement. Tracking events may not appear immediately, particularly if the package has not received its first scan. A missing update does not necessarily mean the parcel is lost, but it is a reason to keep the receipt and check again later.
USPS tracking confirms transportation events. It does not decide whether the retailer accepts the merchandise or when a refund is issued. The seller may wait for delivery, inspection, or another internal step before completing the refund. Keep the return confirmation, receipt, tracking number, and any photos of the packaged item until the return is resolved.
What you need before going to USPS
- An approved return: The retailer or marketplace must have created the return shipment.
- A valid QR code or Label Broker ID: Use the code supplied for that specific return.
- A properly packed parcel: The code does not provide packaging or replace the merchant’s packing instructions.
- A participating Post Office: Confirm that the selected location provides the relevant Label Broker service.
- Time for counter processing: Label printing normally requires assistance from a USPS employee rather than a self-service drop-off.
- Return records: Keep the merchant confirmation and USPS acceptance receipt.
Common problems and practical fixes
The QR code will not scan
Increase the phone’s screen brightness, display the original message instead of a screenshot if possible, and avoid showing a cracked or heavily reflected screen. If the code remains unreadable, use the numeric ID when one is provided. A replacement code usually has to come from the retailer or the service that created the label.
The Post Office cannot find the label
Check that you are presenting the correct code and that the return has not been canceled or replaced. Ask the employee to verify the Label Broker information. If the label still cannot be retrieved, contact the merchant’s support team. USPS generally cannot change the retailer’s return authorization, destination, refund terms, or eligibility rules.
The package is too large, heavy, or restricted
The QR code does not override USPS acceptance rules. A label may have been created for a particular service, package profile, or postage amount. If the actual parcel differs materially from the return details, the package may require a correction, additional postage, or a different shipping method. Ask the retailer before sending a nonstandard package.
Tracking has not updated
Keep the acceptance receipt and allow time for the first scan to appear. Compare the tracking number on the receipt with the number in the retailer’s return portal. If the parcel was accepted but tracking remains unchanged for an unusual period, contact USPS with the receipt and notify the retailer before the return deadline expires.
Who is responsible at each stage?
| Stage | Primary owner | What to verify |
|---|---|---|
| Return approval | Retailer or marketplace | Eligibility, deadline, refund terms, and return destination |
| Label creation | Retailer or shipping platform | Correct service, address, postage, and Label Broker support |
| Label printing | USPS participating location | Scannable code and package presentation |
| Transportation | USPS | Acceptance, movement, delivery, and tracking events |
| Refund or exchange | Retailer or marketplace | Delivery, inspection, and refund status |
This division of responsibility matters when a return is delayed. USPS can investigate transportation and tracking questions, but it normally cannot approve a merchant return or release a refund. The retailer can resolve authorization and refund issues, but it may need USPS tracking or acceptance evidence to investigate a shipment.
What this means for ecommerce returns teams
For merchants, Label Broker can reduce printer-related friction for customers, but it adds operational dependencies. The return portal must generate the correct USPS label, deliver a usable code, explain packaging expectations, and provide a clear fallback when a customer cannot use the code.
A good return workflow should record the label identifier, return authorization, tracking number, carrier events, and refund status as separate milestones. This helps customer support distinguish between a return that was never authorized, one that was authorized but not dropped off, and one that USPS accepted but has not yet delivered.
Merchants evaluating returns management tools should also test the customer experience from end to end: create a return, receive the code, locate an eligible Post Office, print the label, obtain an acceptance receipt, and reconcile the tracking event with the refund workflow. 17RETURNS is one example of a returns-management product from 17TRACK; its relevance depends on the merchant’s required workflow and integrations, so businesses should verify the current product documentation before selecting a solution.
FAQ
Can I use USPS Label Broker without a printer?
Yes, when the return label supports USPS Label Broker. You show the supplied QR code or Label Broker ID at a participating Post Office, where a USPS employee prints the label. You still need to package the item and complete the retailer’s return process.
Do I have to pay for a QR code return?
Not necessarily. The charge depends on the retailer’s return policy and the label it created. Some returns are prepaid, while others deduct shipping from the refund or require the customer to pay. The QR code itself does not determine the merchant’s refund terms.
Can I drop off the package in a USPS mailbox?
Not before the label has been printed and attached. Label Broker printing normally requires a participating Post Office and employee assistance. Once the package has a valid label, follow the retailer’s and USPS’s instructions for acceptance or drop-off.
What if I lose the QR code?
Search the retailer’s return portal or the original return email first. If the code is unavailable or has expired, contact the retailer or marketplace that created the return. USPS generally cannot recreate a merchant’s return authorization without the underlying shipment information.
When will my refund arrive?
USPS tracking can show when the parcel is accepted and delivered, but the retailer controls the refund timeline. Delivery may be followed by inspection or other processing. Keep your acceptance receipt until the retailer confirms the refund or exchange.
Sources
- USPS: Label Broker — service overview and label-printing instructions.
- USPS Help: What is USPS Label Broker? — official explanation of the service and customer process.
- USPS Location Finder — location information for checking available postal services.
- USPS: Tracking — official package tracking guidance.
- 17TRACK: 17RETURNS — official product information for returns-management workflows.